It’s been a while since we updated you on the status of the construction at the Polynesian resort,  now officially called Disney’s Polynesian Village Resort. Changes are moving full speed ahead. Here’s what’s going on.
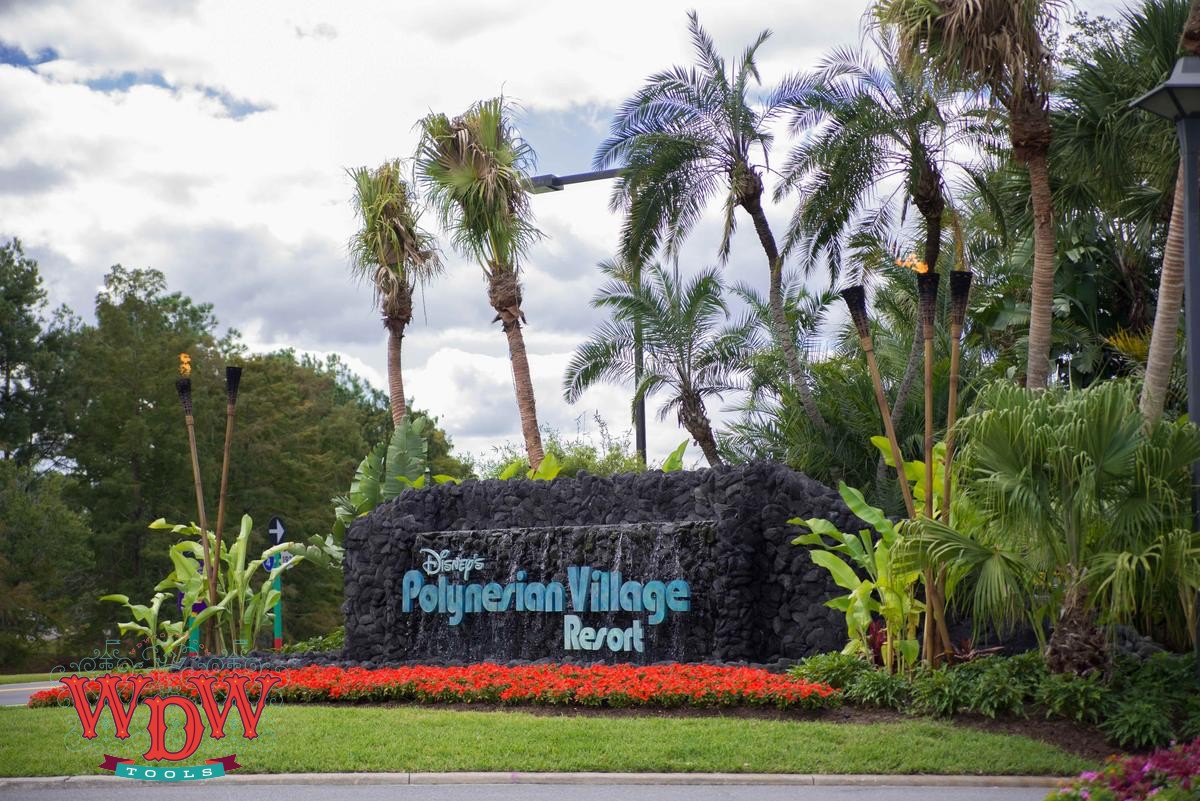 First things first, the entrance has a new sign with a really pretty waterfall and the new official resort name. They threw in some tiki torches for fun and fire.
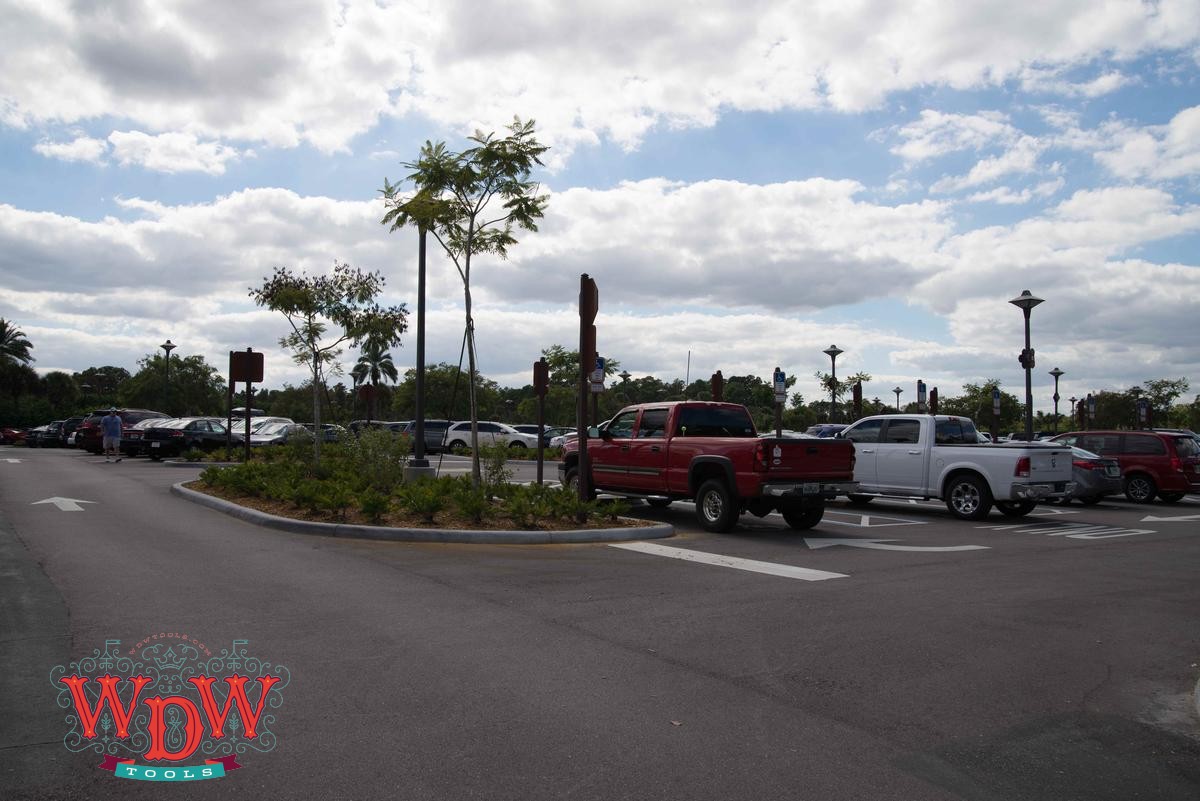 The parking lot has been completely restructured with a large number of handicap spaces up front directly across from the hotel entrance and half-rows behind. Full rows still exist on the left side of the handicap spaces (facing the parking lot) and some more valet has been added to the previous section on the right. One note about the lot: the entrances into the rows are only about 14 feet wide, making for some sharp turns and what I think are going to be incessant curb checks. There are also now only 3 entrances to the lanes.
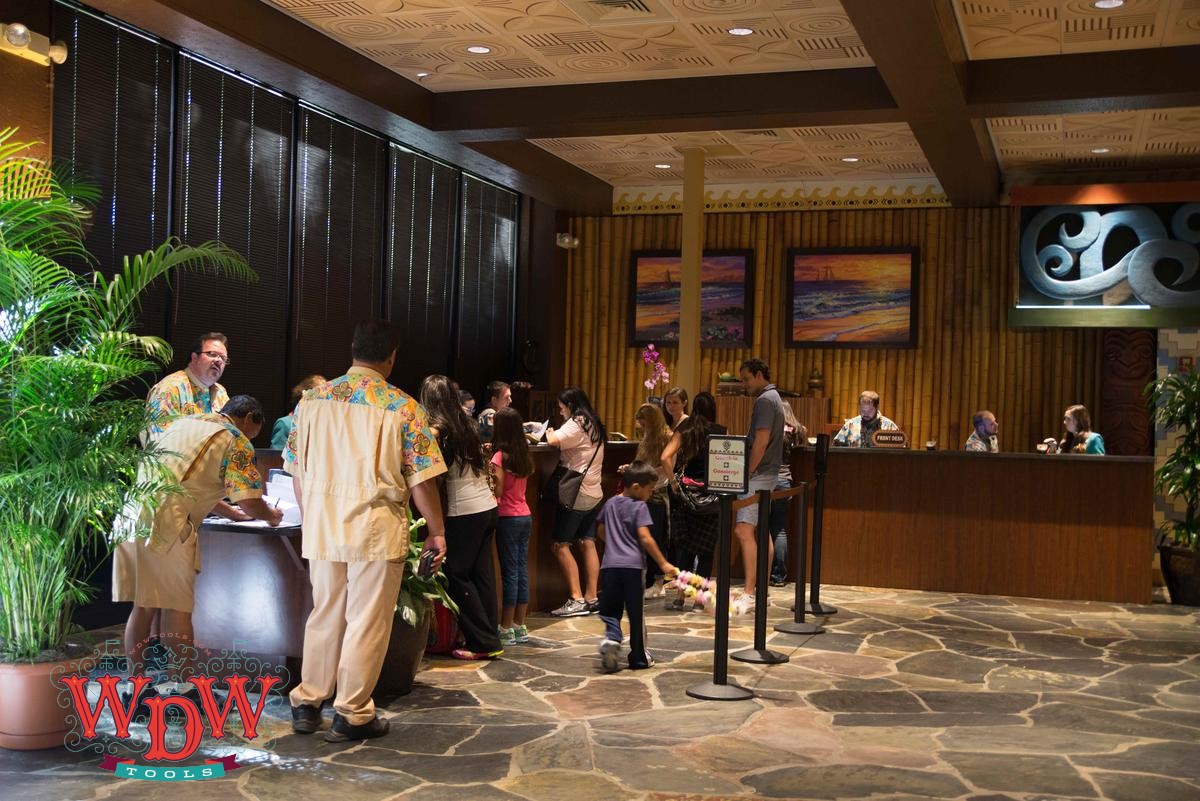
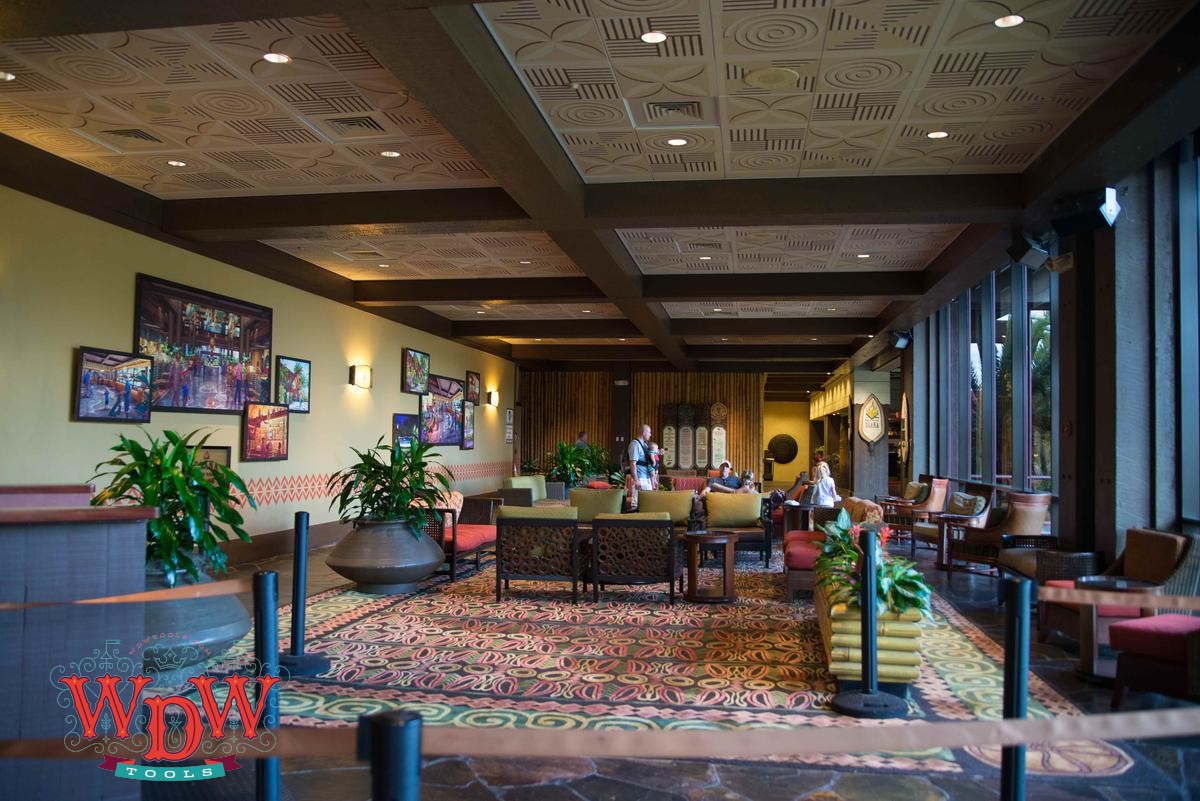
Inside, the right side of the lobby has been completely closed off and the check-in desk is now where Bell Services and the kids’ lounge resided previously.
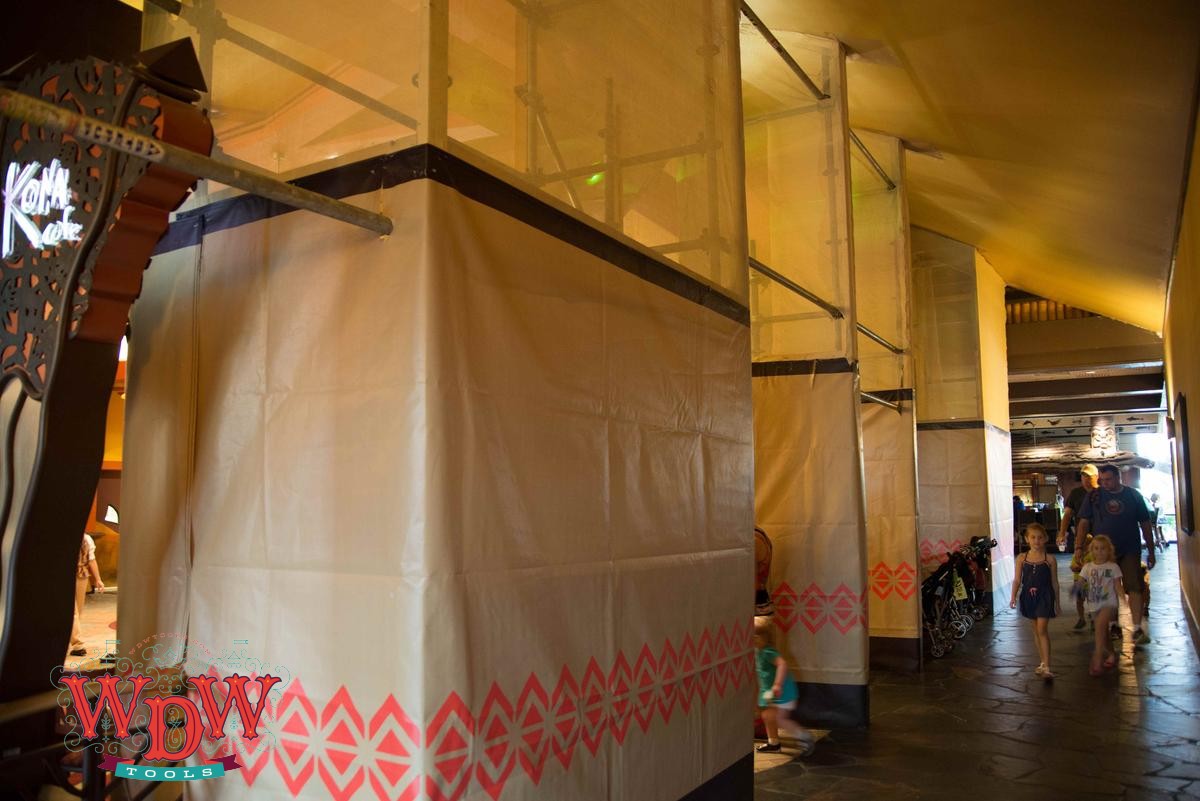
Walls remain up around the center of Great Ceremonial House with supports for the ceilings on the second floor, now around Kona Cafe.
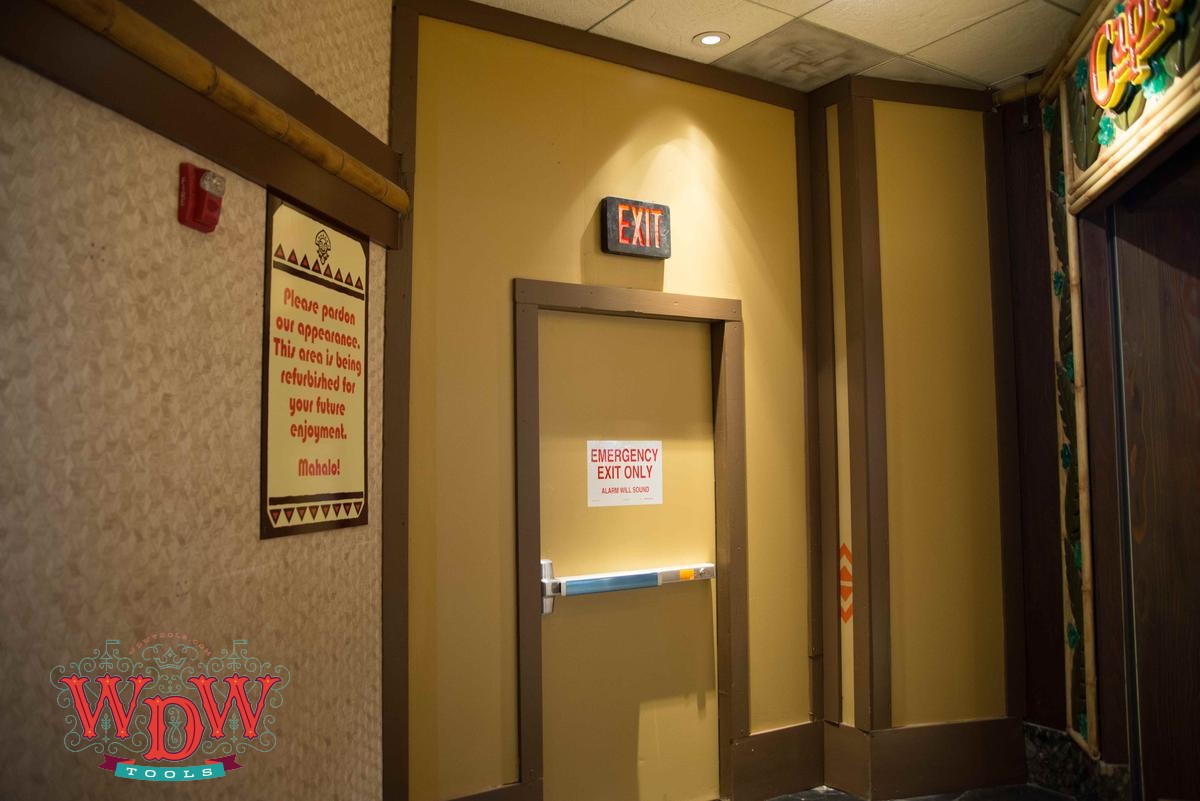
Just past Captain Cook’s, the hallway has been closed off for the installation of Trader Sam’s.
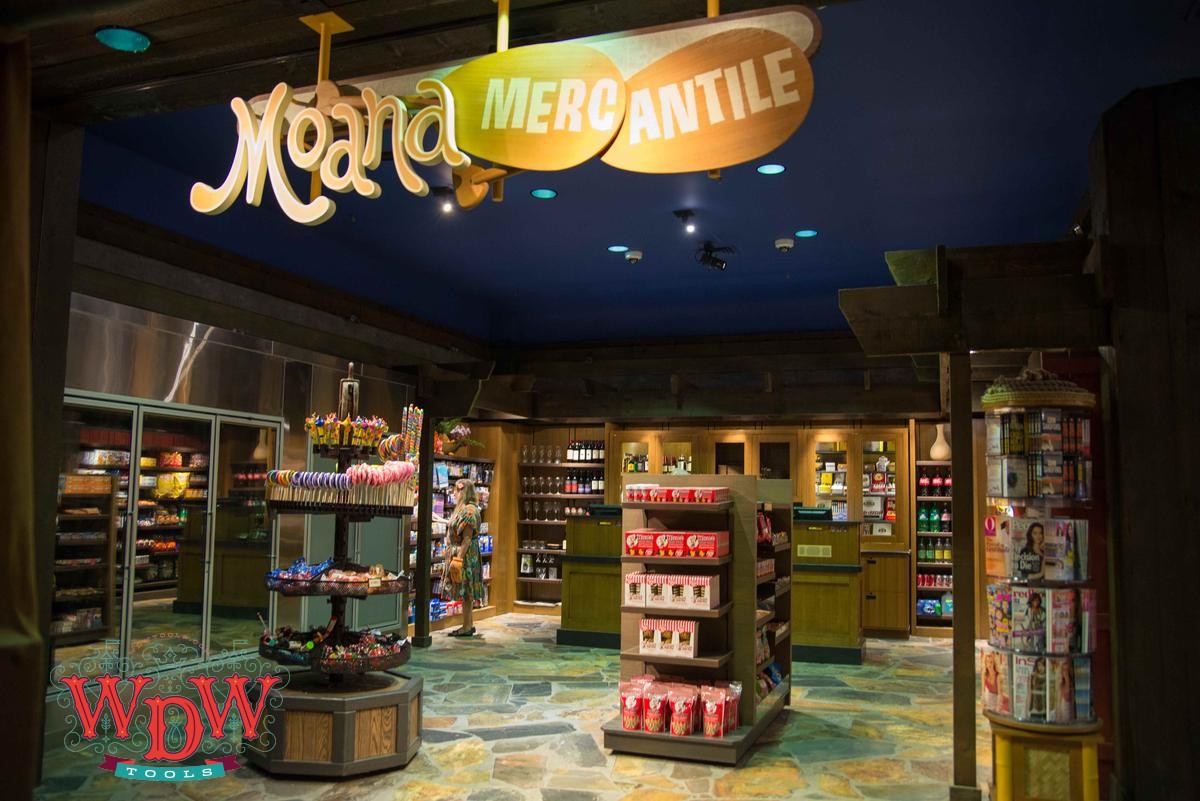
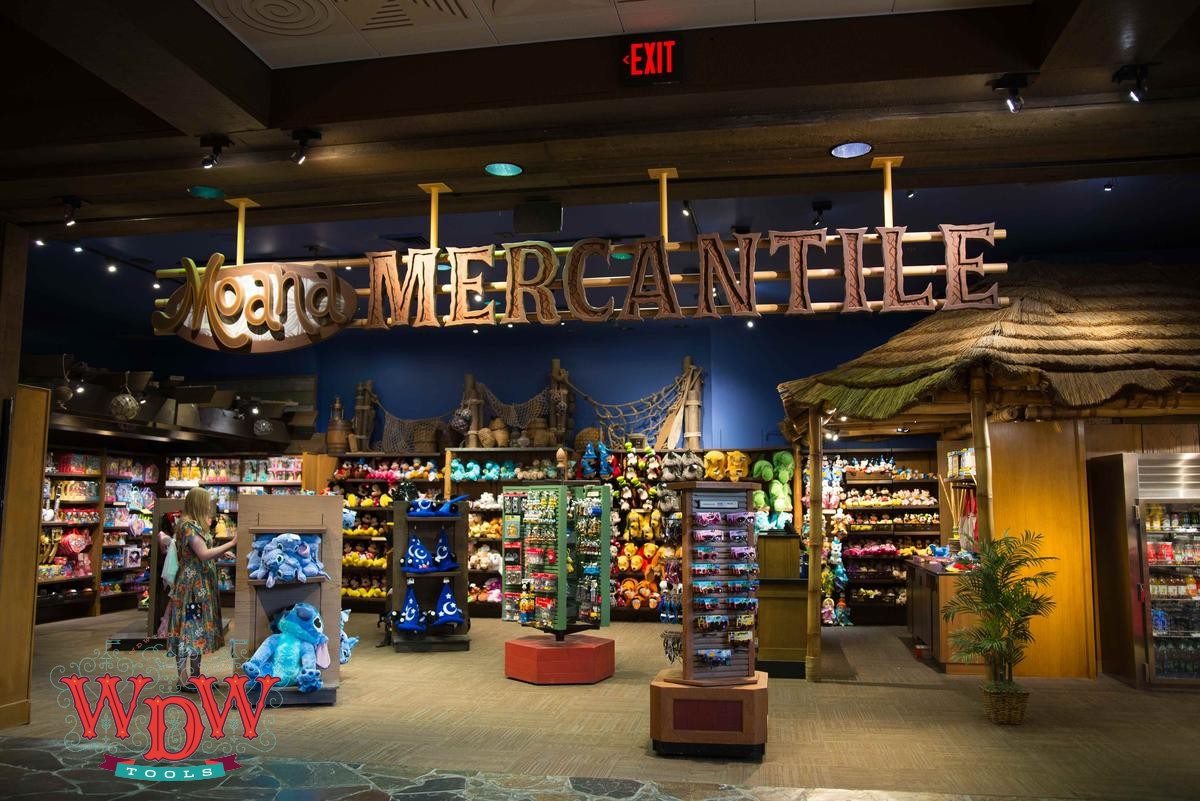
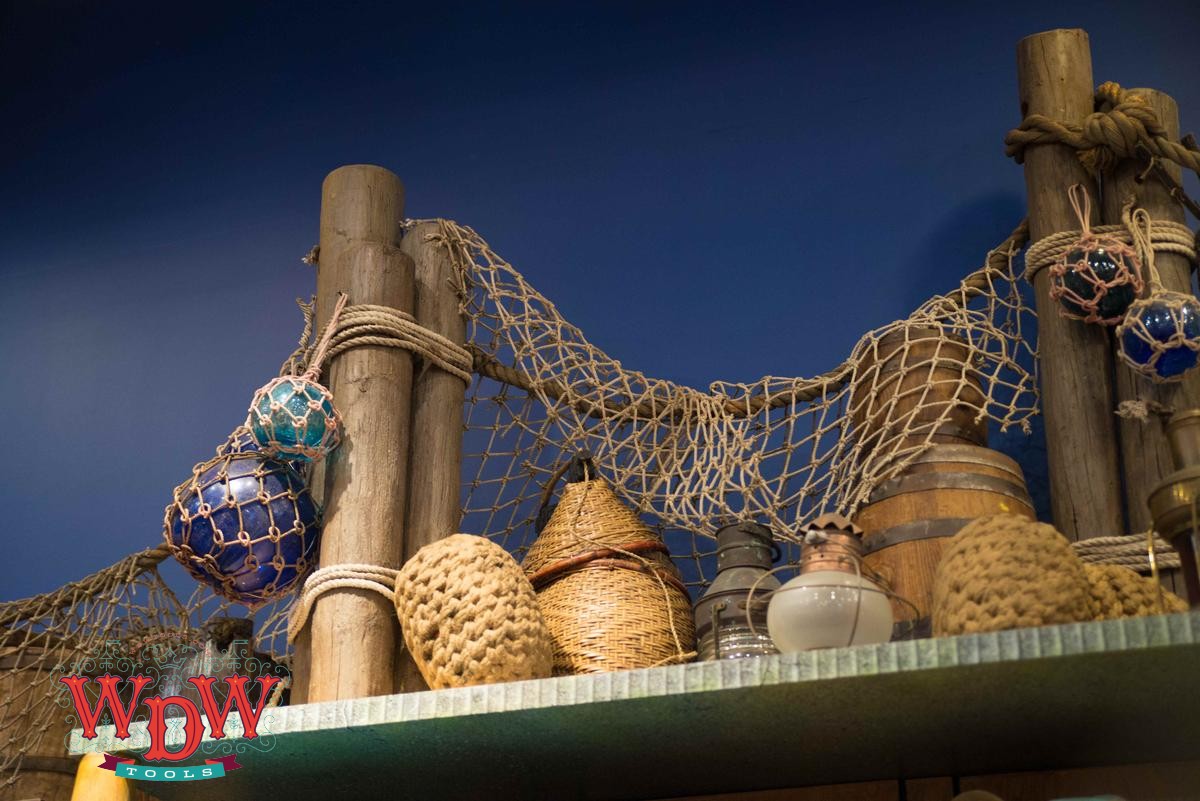
Upstairs, the gift shop has undergone a little bit of a refresh. The ceilings have been painted blue and the decor changed to match the theme that will take over the hotel. The glass fishing floats are a nice addition that are reported to match the lighting theme that’s coming.
A new electronic park hours board has been installed just outside the shop.

The ‘Ohana waiting area has been returned to full size with a large portion of the floor reserved for stroller parking.
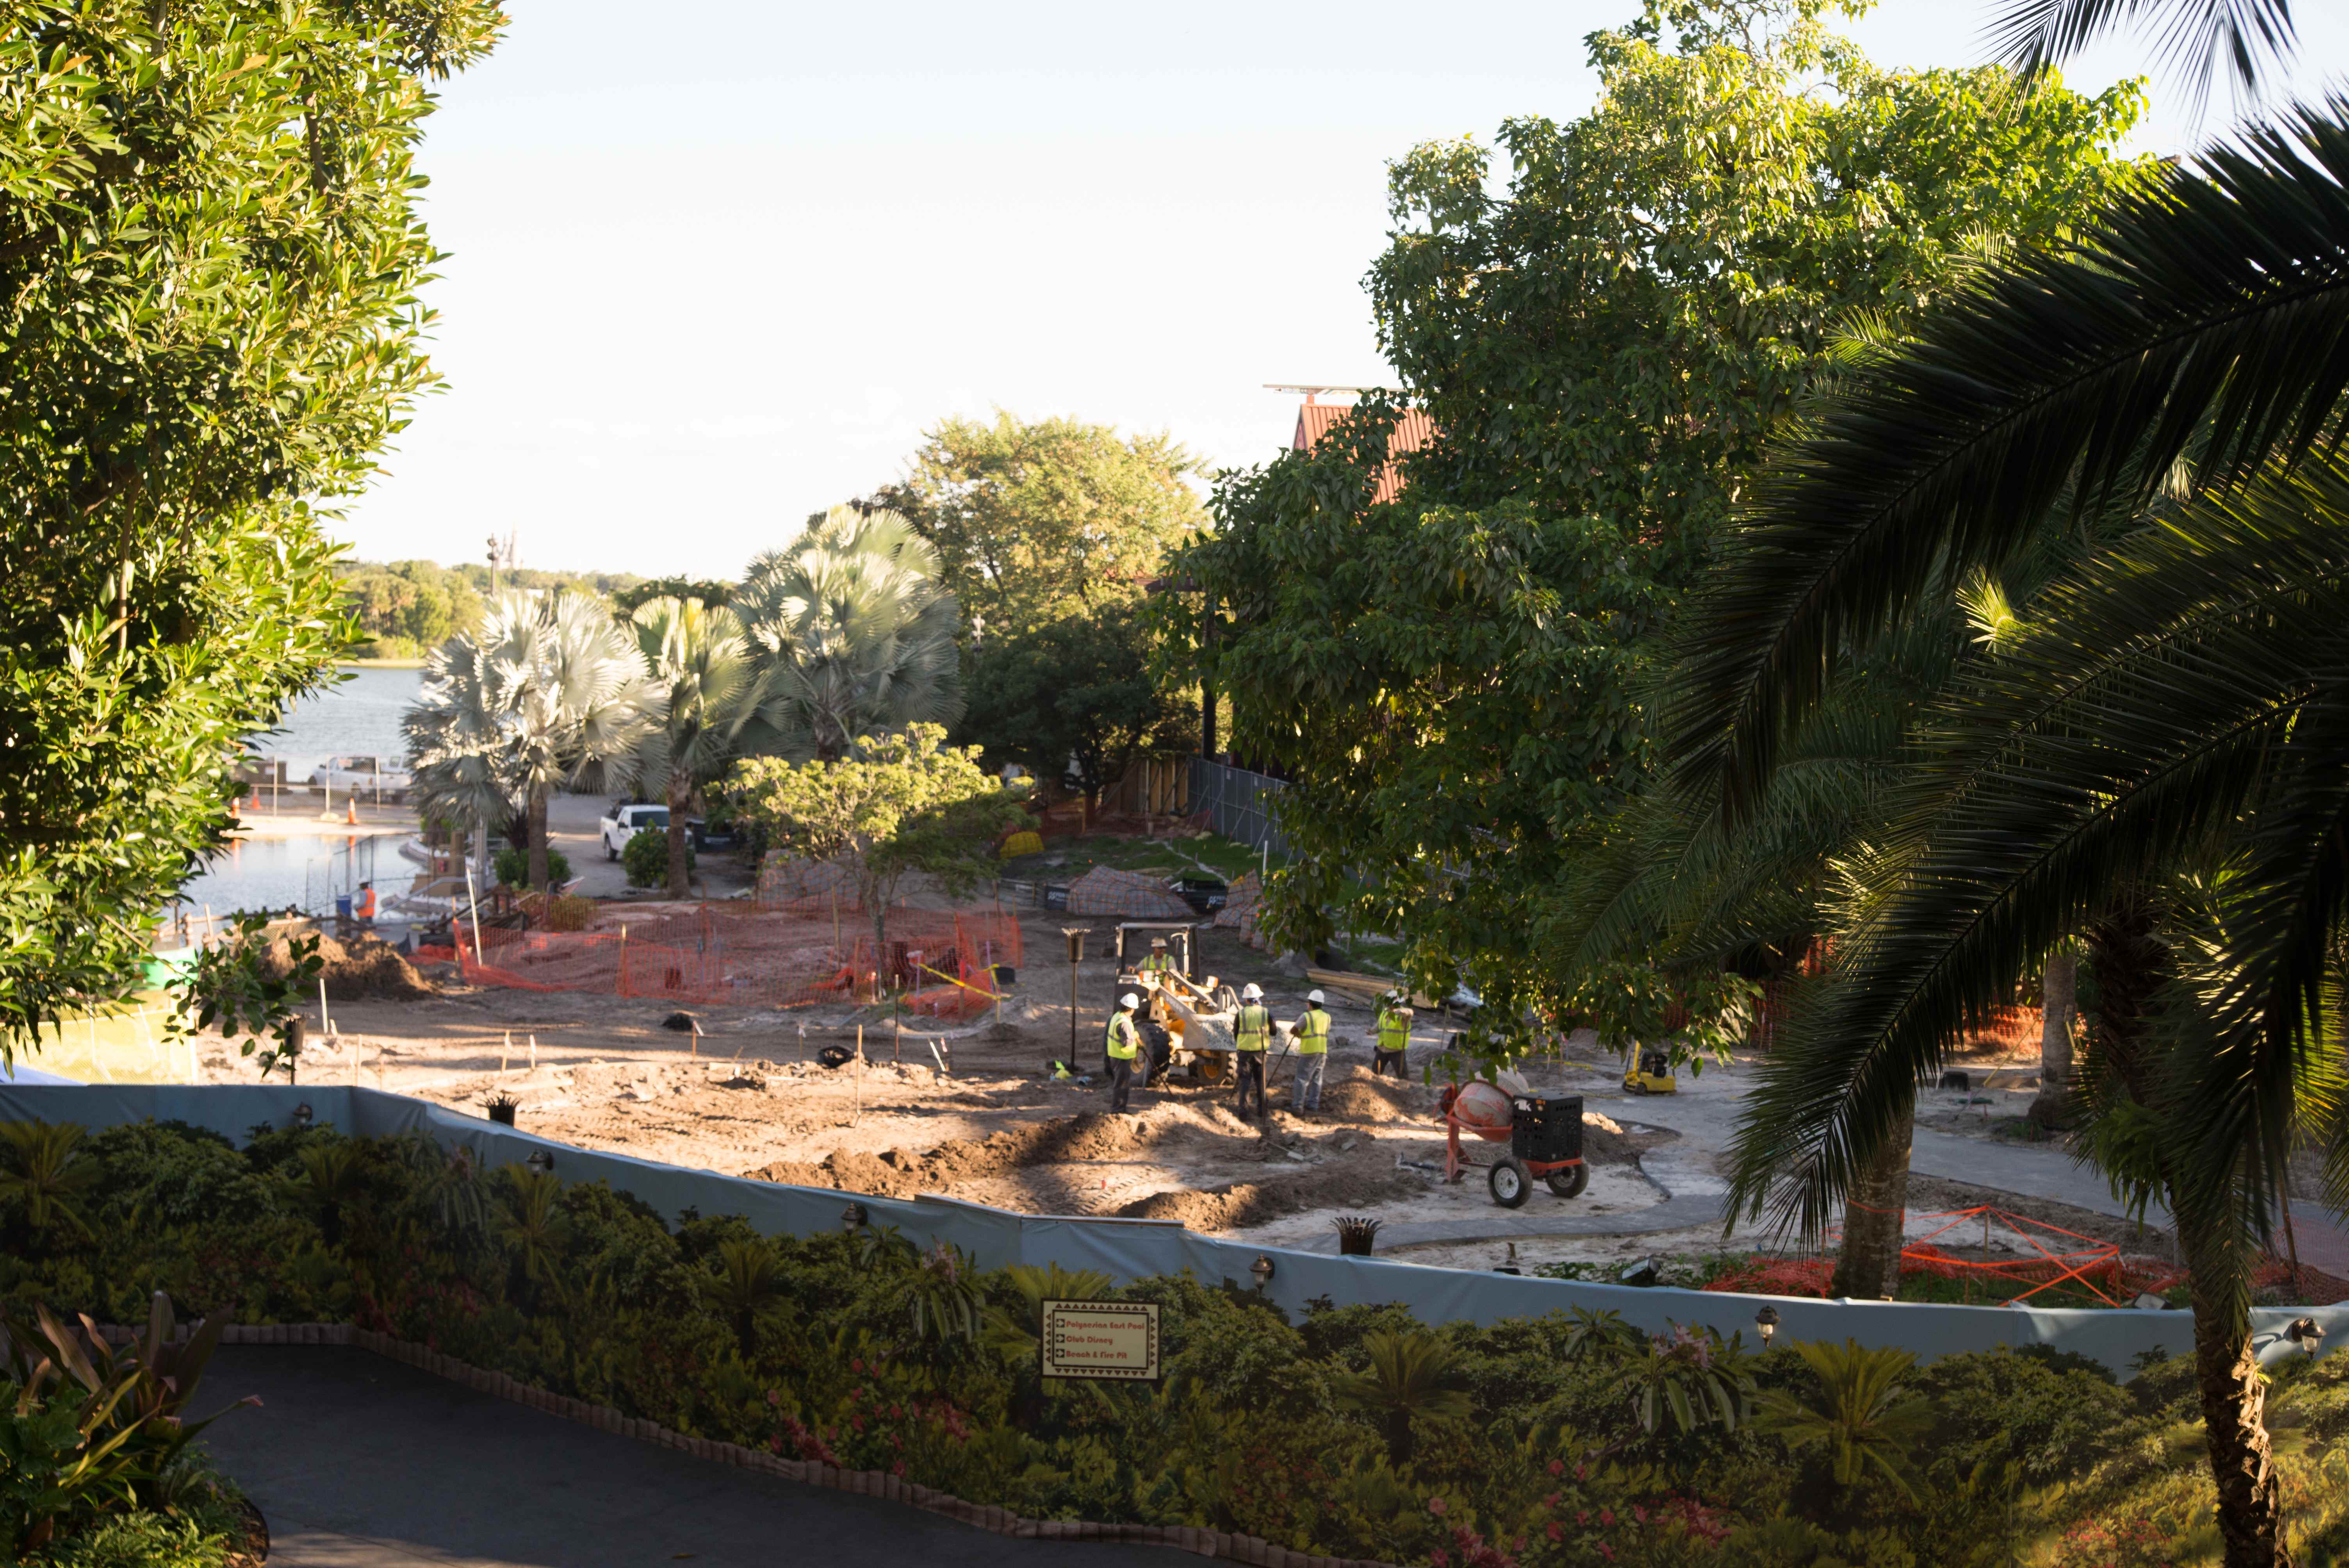
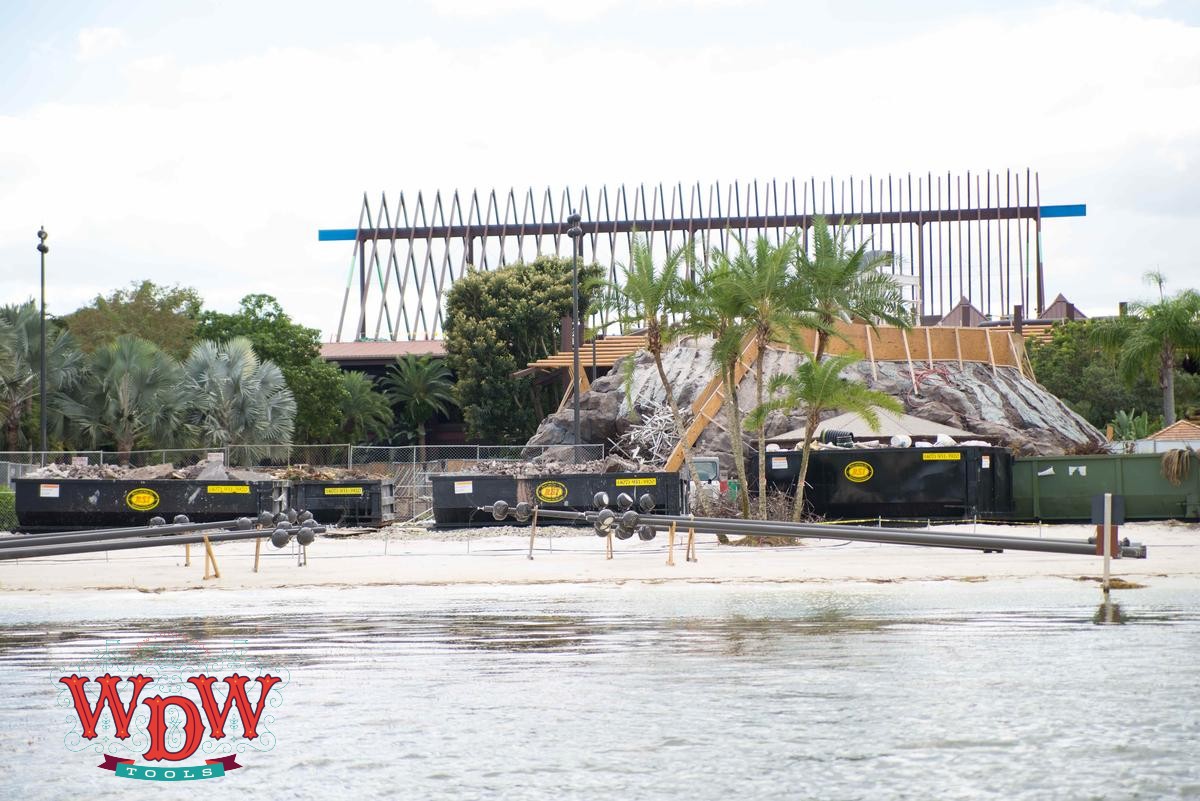
Outside, the waterfall and river have been removed and replaced with sidewalk. There’s a great deal of construction at the feature pool with the volcano being reshaped and the pool area being expanded.
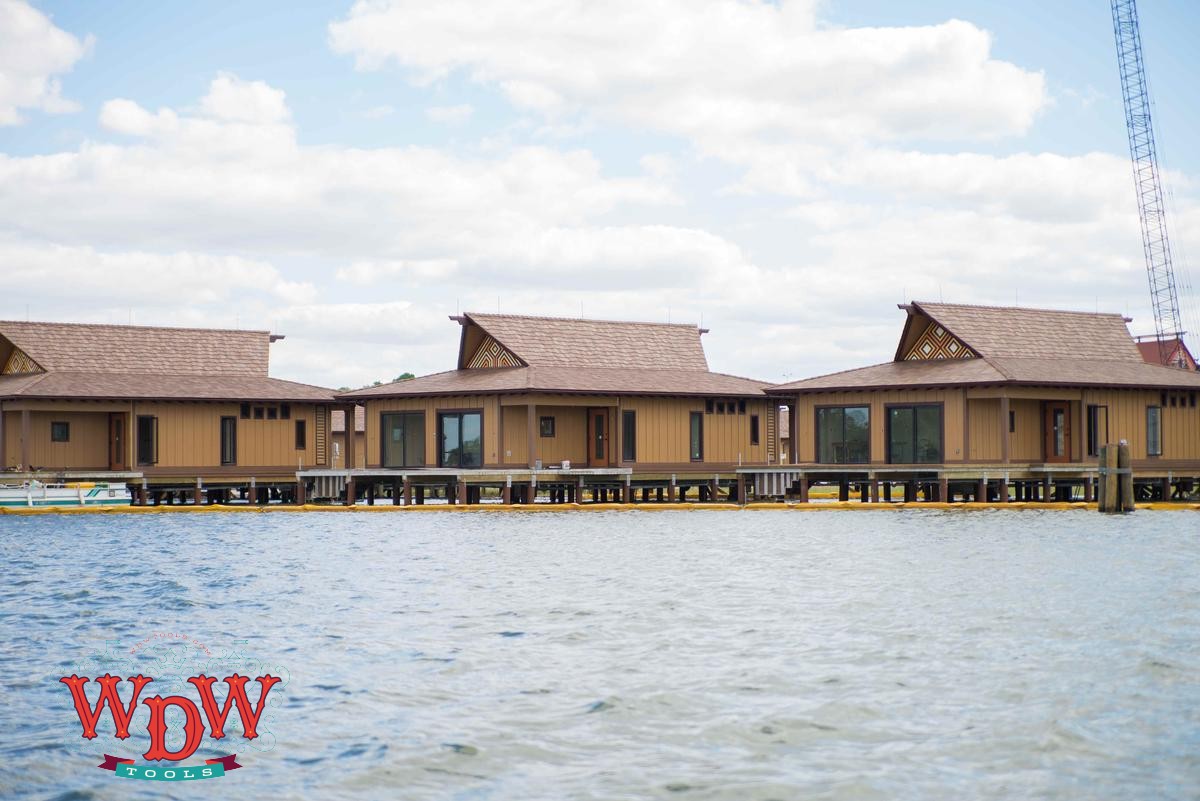
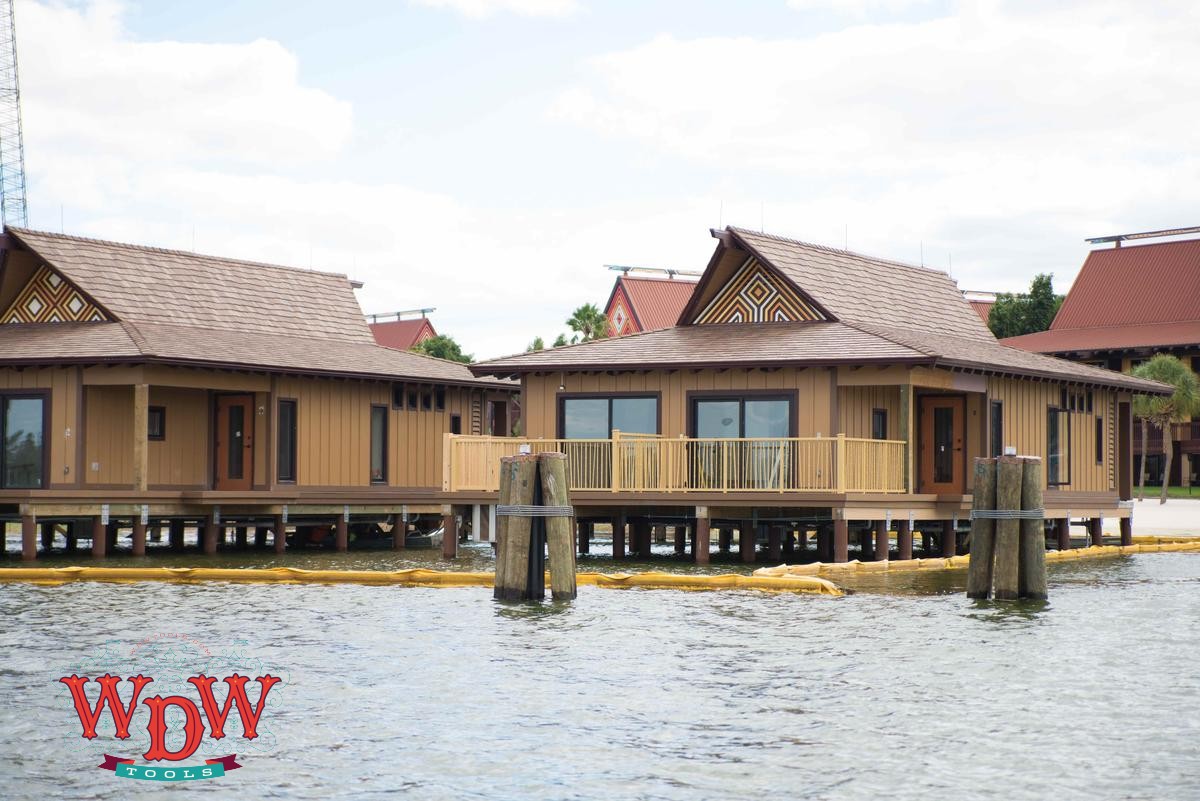
Construction continues on the DVC bungalows with exterior finish details and porch railings going up.
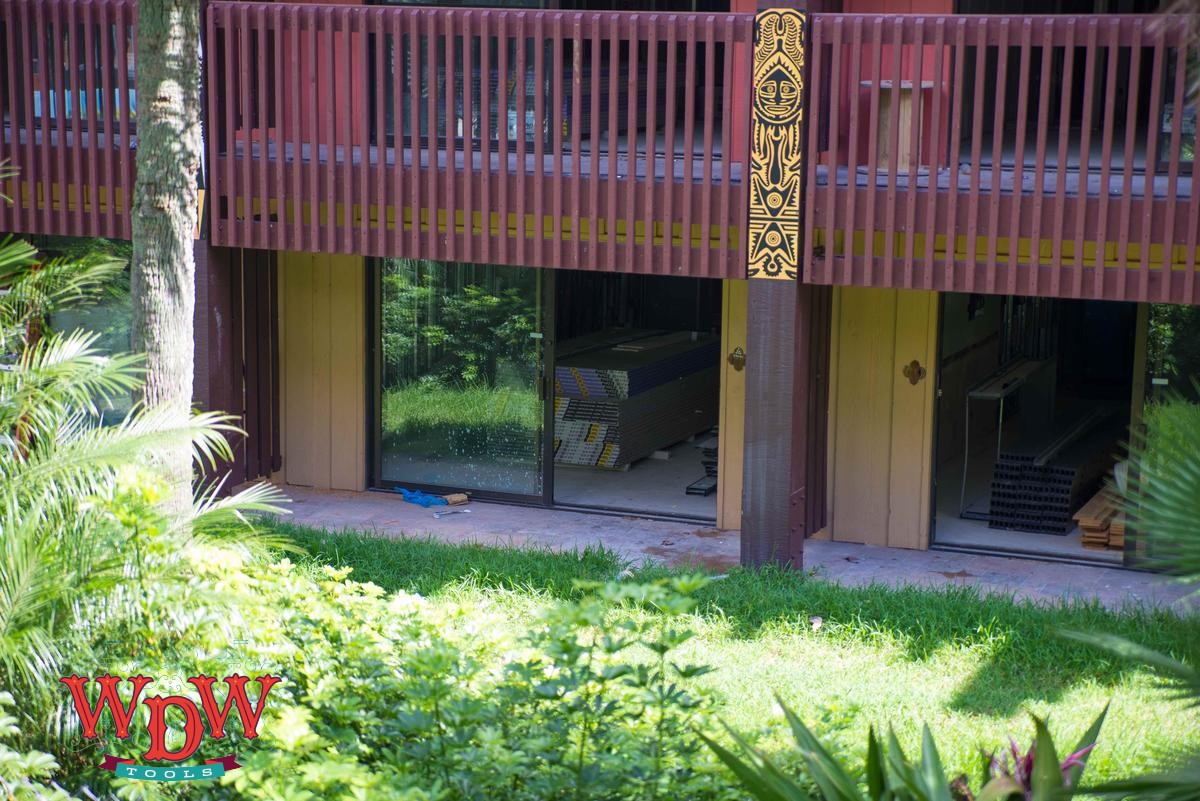
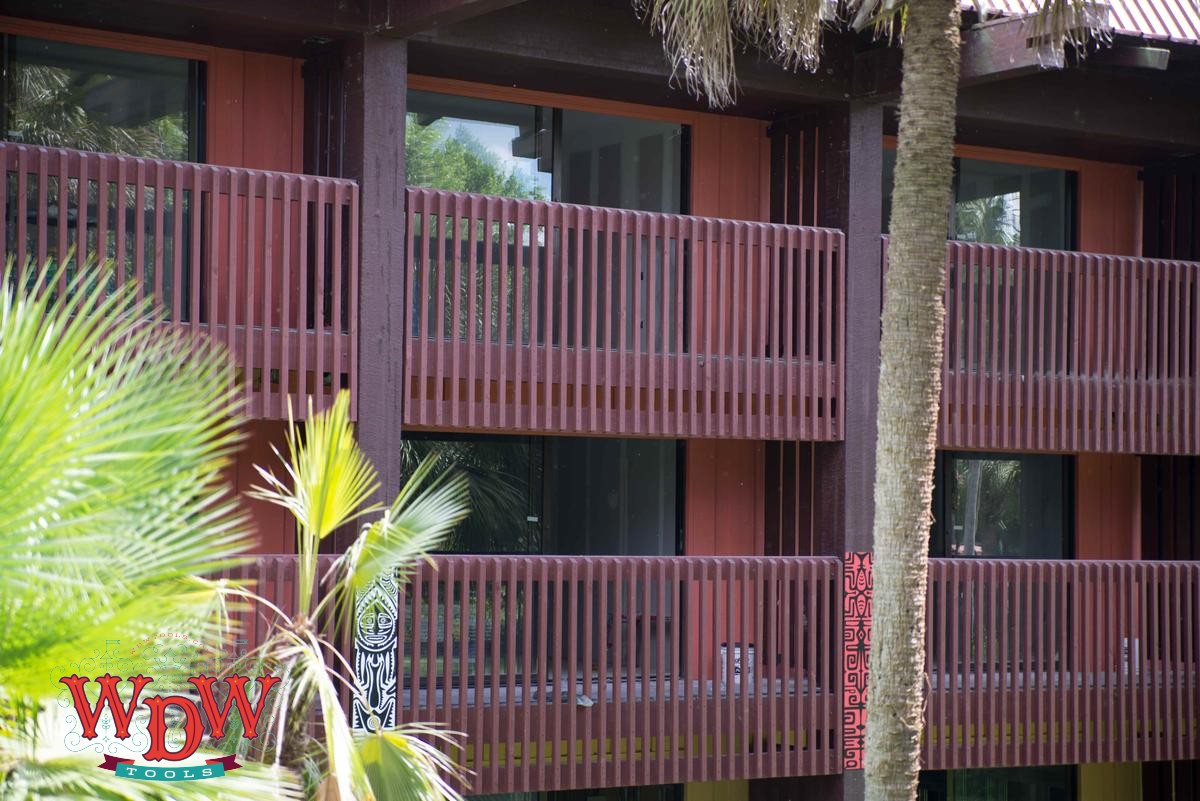
Construction on the DVC long house conversions continues with drywall going up in the rooms.
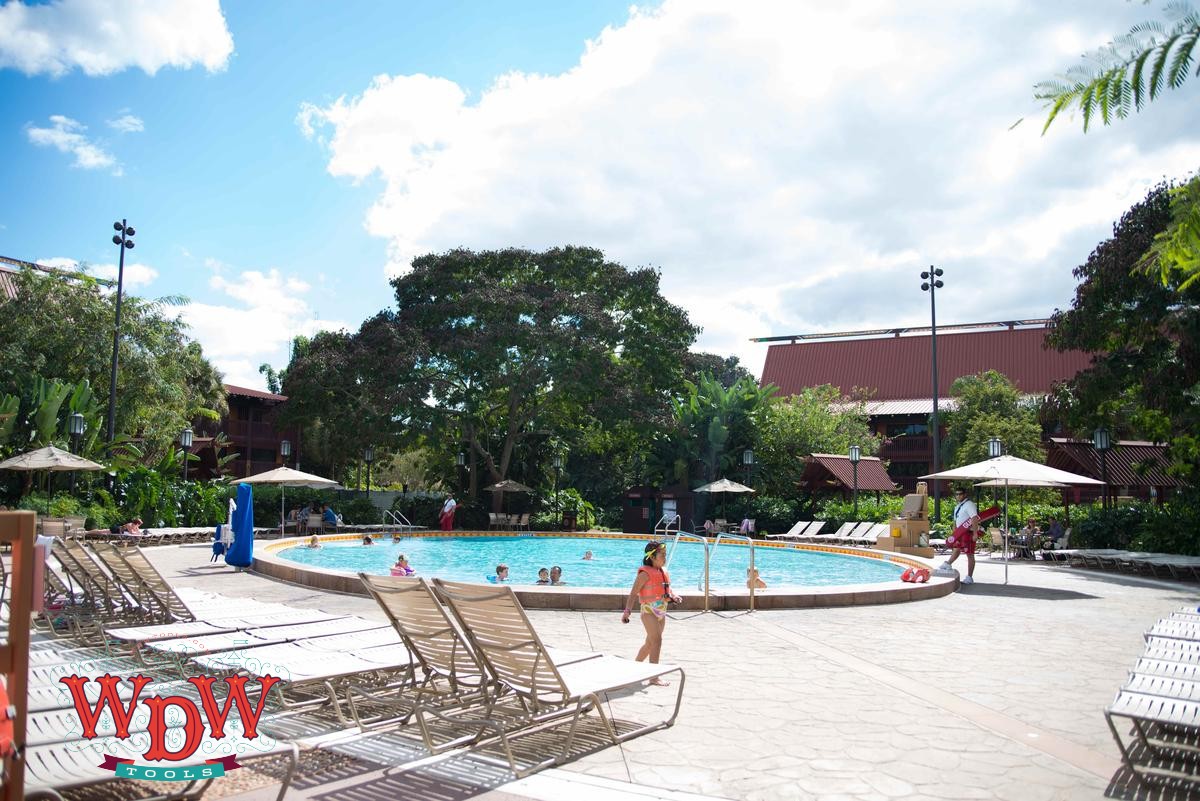
The quiet pool remains in use and is fairly busy given its support of the entire resort. Typhoon Lagoon is now closed for refurbishment so guests may go to Blizzard Beach.
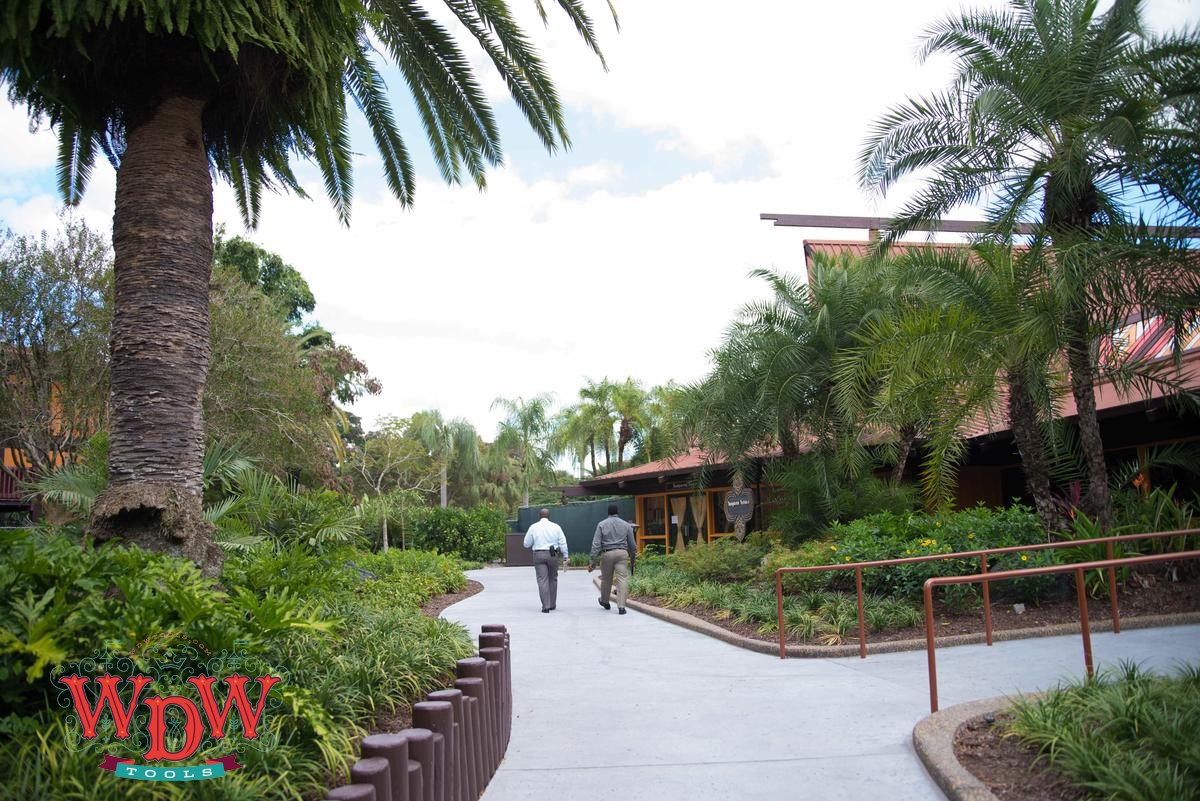
Landscaping and new sidewalk have been added to the Tangaroa Terrace area, completing the look there.
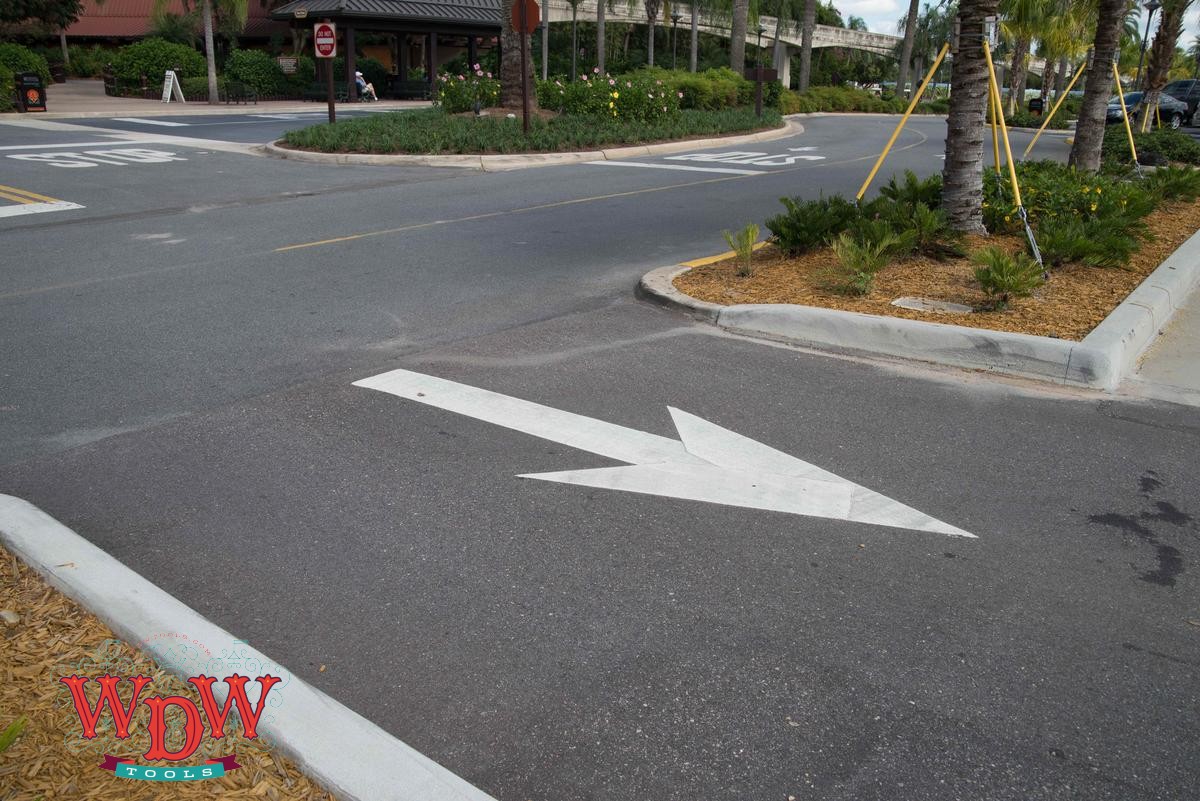
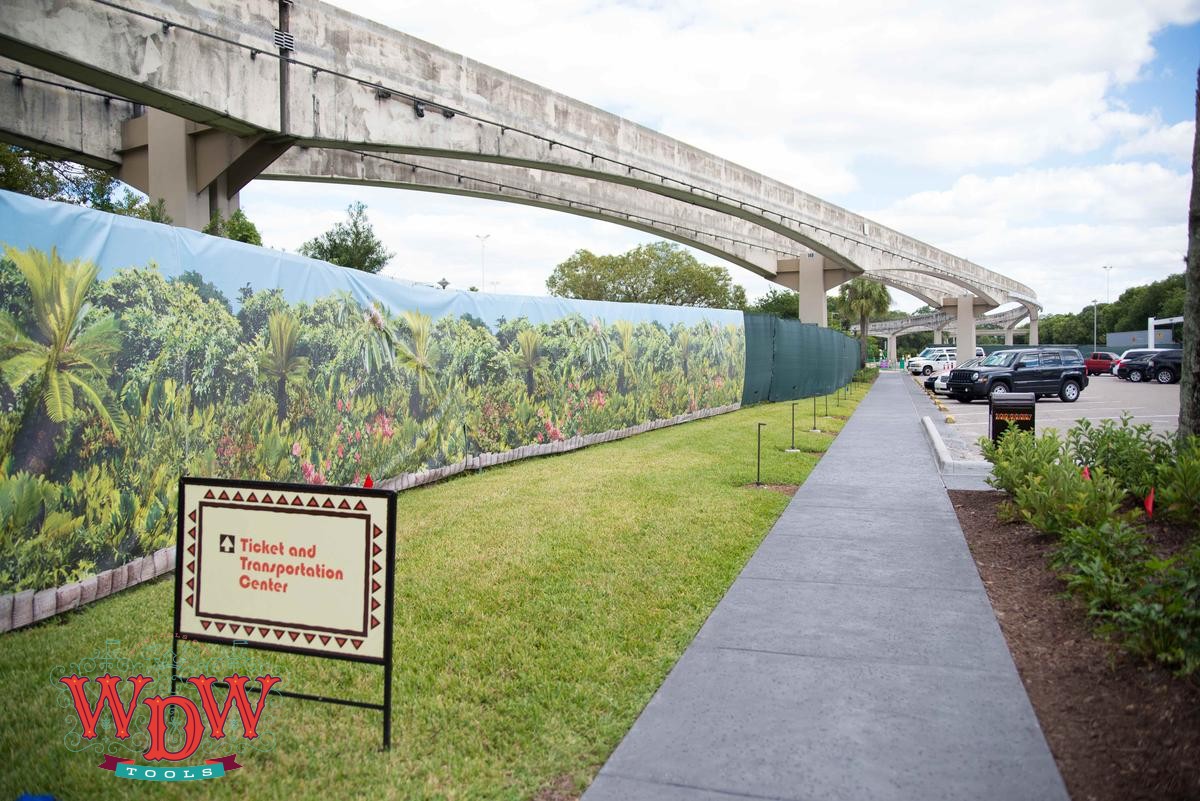
And the walkway to the Transportation and Ticket Center has been re-routed around the front of the resort.
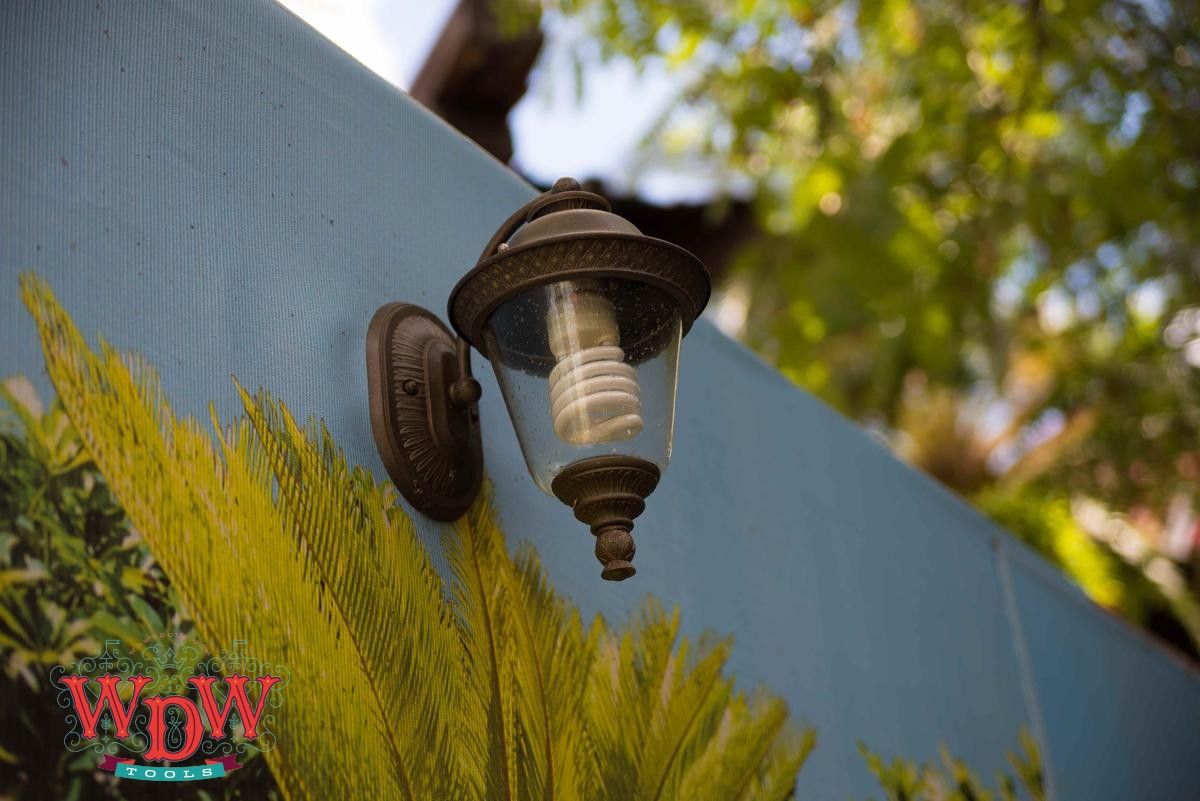
All across the property, lighting has been added to the decorative fencing as the sheer number of the structures has made things a bit dark at night.
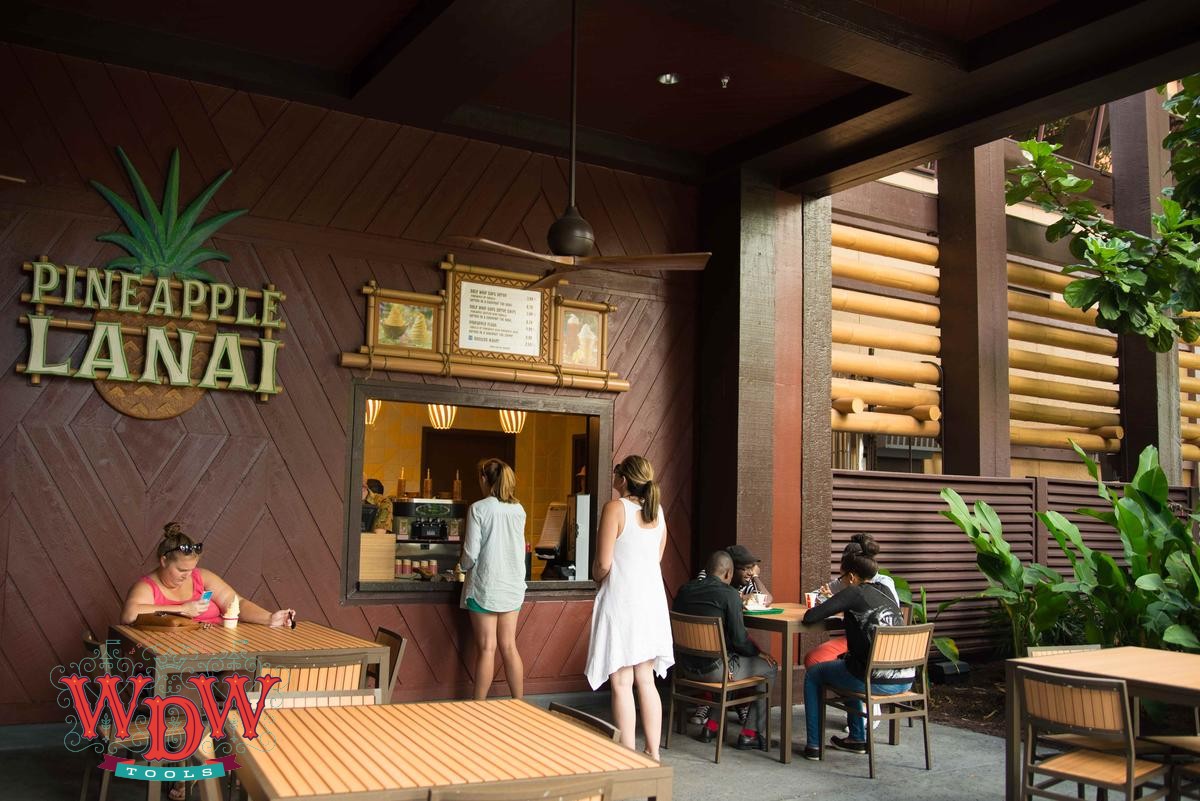
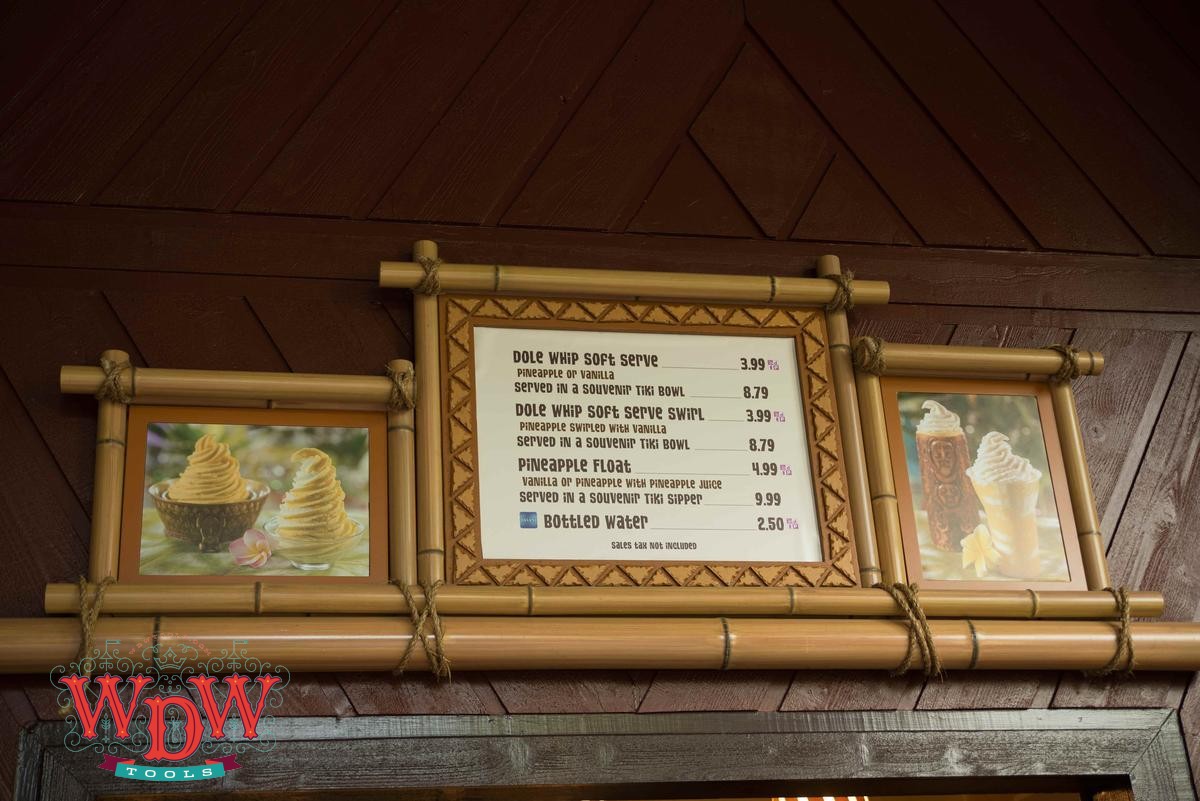
Finally, Dole Whip has returned to the Polynesian. The Pineapple Lanai is open just outside the back doors at Great Ceremonial House. Dole Whip is no longer self-serve or available 24 hours, but more menu items can be purchased than previously. Don’t forget the souvenir tiki bowl!