From the home page click on “Docs†found on the navigation bar at the top of the page
![]()
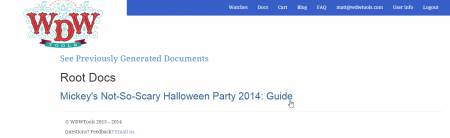
Once there click on the desired document
At this point you will be brought to a page displaying a preview of the document
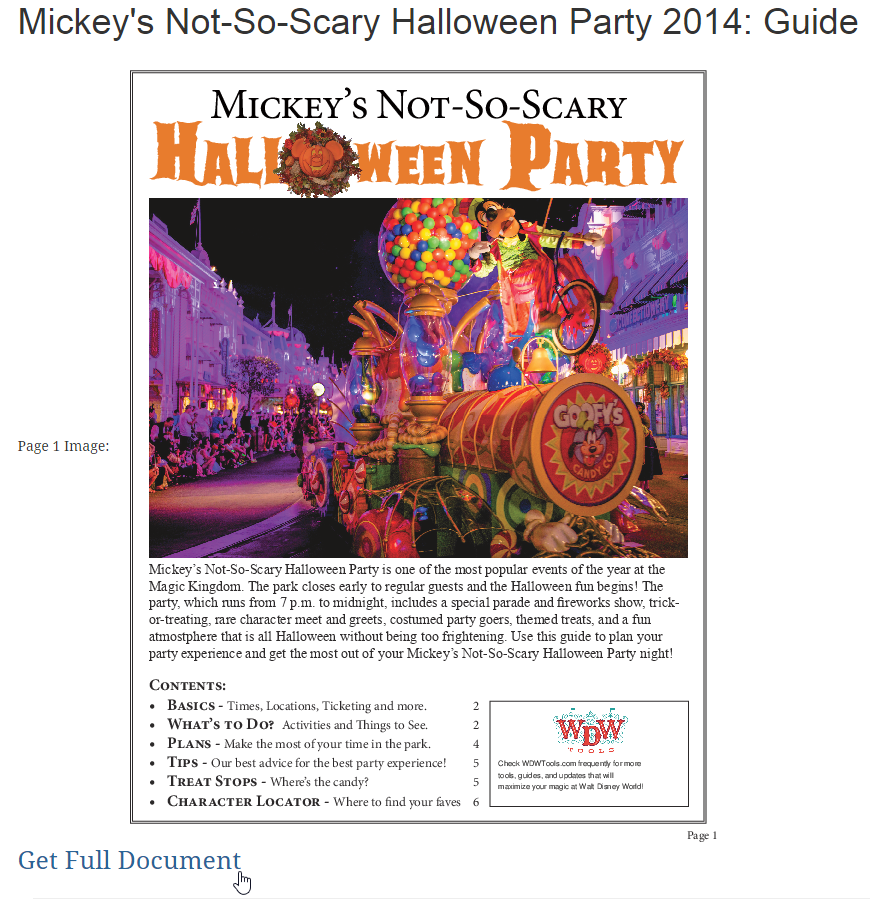
From here you want to scroll down to the bottom of the page and click “Get Full Document†which will bring you here
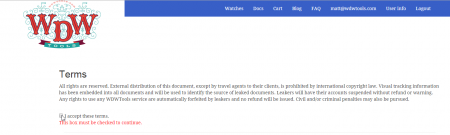
Once you have accepted the terms you will have the option of either downloading the document without customizations
Or customizing a stamp for a specific party (instructions on this below)
The first step in making a custom document is adding your custom logo (if desired you may use the default WDW logo)
Click “Choose file†in the add image section

Browse to your file and click “Openâ€
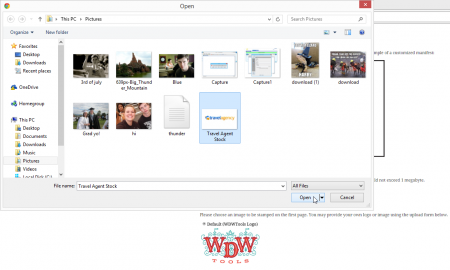
Once you have certified that you are legally entitled to use the image click “Upload Custom Imageâ€

Now your custom image will appear as an option for logo printing. If you made a mistake, just click “Remove†to delete your picture and then redo the last step. Go ahead and select it now

Now that your image is saved and selected it is ready to be used.
Next we will show you how to create a custom party date and message to be printed on the document.
First you will want to give your custom document a title. I recommend something descriptive. The title is not printed on the document and only you will see it
![]()
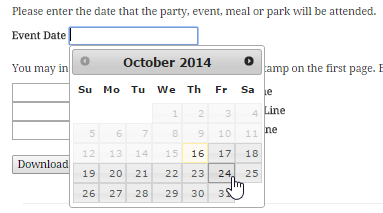
Next click on the text box labeled “Event Date†to reveal a calendar and choose the date of the event. This box can be left blank to make a more generic document or for parties with multiple park dates.
Next you can enter a custom message to print on the bottom of the first page of the booklet.

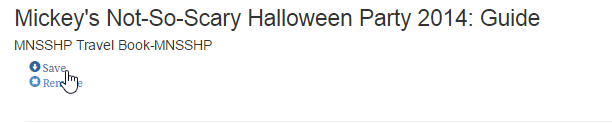
Once you are done with that click on “Download with Customizations†at the bottom of your screen to save your custom stamped document
![]()
Once you have done that hit “Save†(This may take a few moments)
Open the document and there you go! Now you have a helpful guide to give to your clients with a personal feel.